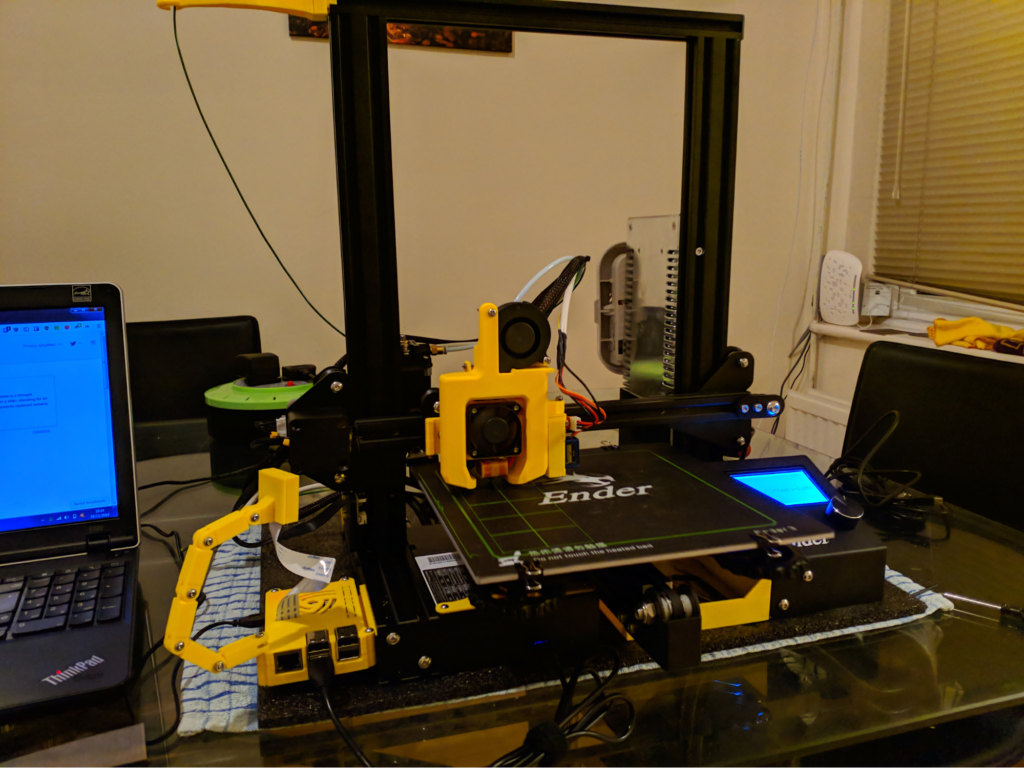
I bought my Ender 3 direct from Creality costing me a very reasonable £160. On top of that I also bought some filament from 3dfilaprint. The final item that may be required is a glass bed as a common problem complained about with a Ender 3 is a warped bed.
You can check if a bed is warped by grabbing a ruler and placing it down on the bed. By shining a light behind the ruler, you will be able to see light coming through on the underside of the ruler if the bed is warped.
Building
The printer comes as a kit you put together. So with the parts arrived it’s time to build the printer. I found the instructions with the printer to be perfectly serviceable but I like video tutorials so I followed along with NoLimits3D. Now the printer is built you’ll want to adjust and calibrate it.
Adjust Carriages
First you’ll want to adjust the bed, carriages and z-axis screw as it may be too loose or tight coming out of the factory/after the build. The following videos will help explain these, I recommend watching both before trying any adjustments:
Once adjusted correctly you should be able to easily push the y-axis carriage with your hand, the bed should move under its own weight and turning the z-axis stepper with your hand should also be easy, if any of these are difficult to do then you need to readjust them.
Adjust Belts
There doesn’t seem to be an easy way to explain how tight or loose a belt should be. The following videos might or might not give you an idea about how tight it should be:
My suggestion is to tighten it without using too much force and then if your prints skip steps in the x(left-right) or y(forward-back) directions then tighten those belts further.
Test Print
The first step is making sure you have built it correctly. You can use any test print for this but I used the dog provided on the microSD card with the printer. Before printing, you should make sure the carriages are in the middle of the rail and then select home axis from the LCD menu. You’ll then want to quickly trigger the endstops manually using your finger and be prepared to pull the power if the endstop don’t work.
If you don’t test this and just print and find that one of the endstops doesn’t work, you’ll damage your printer as the carriages will slam into the extrusions and bed. Once you have confirmed the endstops work then you are ready to do a test print. Start the print up with your hand hovering over the power socket to quickly turn it off should you need. Don’t expect the printer to work correctly at this point, you need to calibrate it next.
Warning: Until you upgrade Marlin (see below), runaway thermal protection will not be enabled, this is a fire risk. Do not print unattended.
Slicer
The next step is to setup a Slicer. This is a program that takes a 3D design and converts it to movements the printer needs to make to produce said design. There are a few paid for software in this area but I recommend the free Cura program. Out of the box Cura comes with an Ender 3 profile which works well.
Calibration
Calibration is required to get the printer to print correctly and reliably. There is quite a bit to this area so I suggest watching and reading as much as you can in this area.
Calibrate E Steps, Retraction, Temperature, Speed Settings
The How to tune your slicer settings featuring Ender 3 video by Teaching Tech is very good for Ender 3 tuning tips. You’ll need to use Post Processing options in Cura (video uses Simplify3D instead). Several of the test prints used in the video are below. You’ll also need to be able to send commands to your printer. There are several options for this:
- Arduino serial terminal (remember to set the baud to 115200).
- OctoPi
- Pronterface (pronterface.com)
Bed Levelling
Bed levelling is important to make sure th print doesn’t come unstuck. See 3D printing guides – Bed levelling by Thomas Sanladerer for bed levelling technique.
Other Tuning
Thomas Sanladerer also has some other good 3D printing videos. I suggest watching 3D printing guides: Calibration and why you might be doing it wrong.
Test Prints
Below you’ll find several test prints that will be useful for calibrating your printer.
3DBenchy
Everyone prints a benchy, it is a right of passage. The benchy is a print that tests many aspects of your printer.
Link: thingiverse.com/thing:763622
All In One 3D printer test
Tests several different aspects of your printer, making it easier to see what you need to calibrate further.
Link: thingiverse.com/thing:2975429
Temperature Calibration Print
Tests which temperature your filament best works at. You’ll need to use Post Processing options in Cura to get it to change temperature as it goes up the object.
Link: thingiverse.com/thing:2729076
Retraction Test
Tests what level of retraction your filament best works at. You’ll need to use Post Processing options in cura to get it to change retraction as it goes up the object.
Link: thingiverse.com/thing:2563909
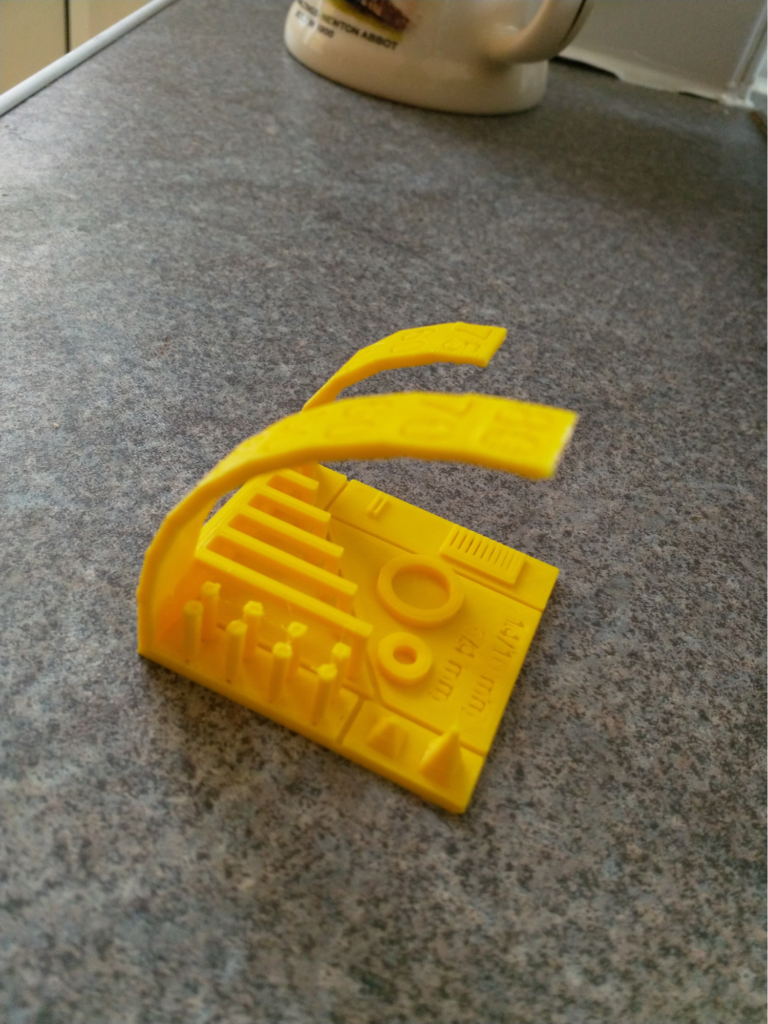
Upgrades
This is where the fun begins. You should now have a working printer but there is still 101 things to improve. Now you have a 3D printer, you can easily solve a lot of these problems by printing more things off the printer. All of the below upgrades I have added to my Ender 3.
Marlin: Upgrade (A MUST!)
Out of the factory, the Ender-3 is running an old customized version of Marlin. This is missing several critical features including thermal runaway protection which is a massive fire risk!
See Ender 3: How to install a bootloader and update firmware to learn how to install the bootloader and Ender 3 vanilla Marlin update: Concise guide to update Marlin.
Marlin: Enable Manual Mesh Bed Levelling
If you bed is warped, this is a must. Basically allows you to manually create a mesh of points which represent your bed using the same techniques as bed levelling. This mesh of points is then used in the firmware to move the z-axis up and down during a print, hence lessening the problem of a warped bed.
See: 5 beginner Ender 3 fixes.
Fire alarm
If you are printing overnight, might as well attach a fire alarm to the printing, just in case!
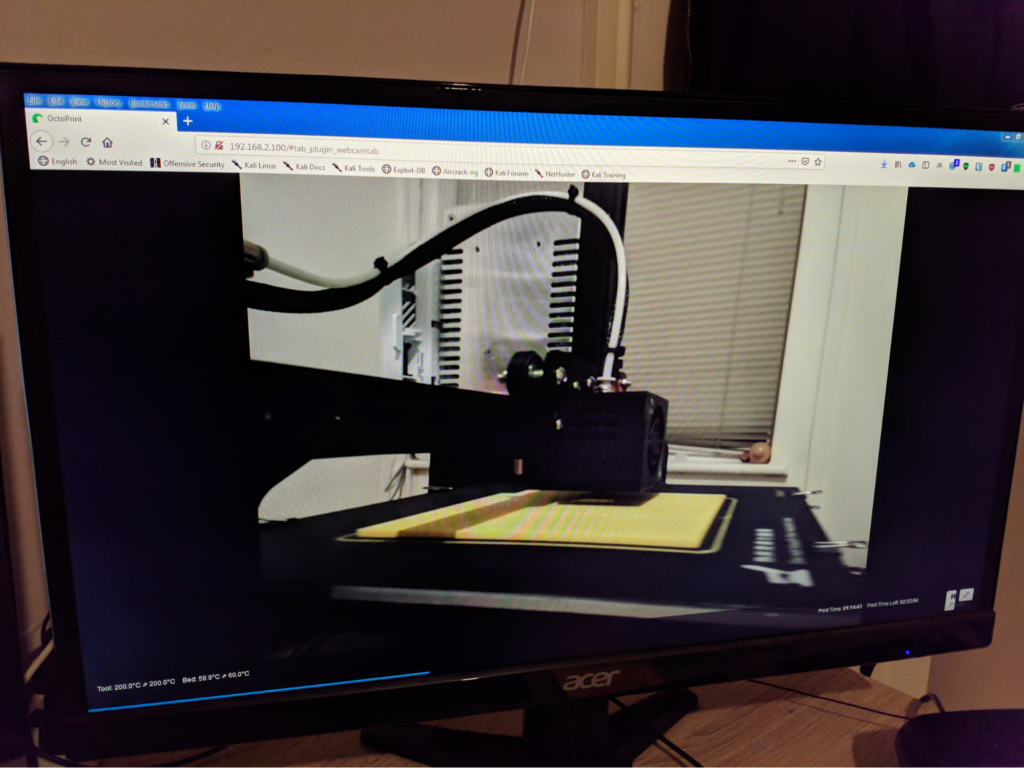
OctoPi
OctoPi is a distribution for Raspberry Pi which includes OctoPrint. OctoPi allows you to control your printer over your wifi. This has several advantages:
- Send your print straight from Cura to the printer (via a plugin), no messing with microSD cards
- Record time lapses of your print
- Control of the printer can be performed from the web interface rather then small LCD
- Bed levelling mesh can be visualised
- You can directly send the printer GCode (very helpful for calibration)
See How to setup Octoprint / Experimenting with Octolapse for a setup guide.
OctoPi Plugins
OctiPi is already feature heavy but it can again be massively improved by lots of amazing plugins. Teaching Tech again gives a good overview in his The best Octoprint Plugins to enhance your 3D printing experience video.
Filament Guide
The path of the filament isn’t particularly good on the Ender 3. This can be fixed this with the following prints: thingiverse.com/thing:2917932 and thingiverse.com/thing:2894097.
Fan Guard
This print protects filament flakes from falling into the electronics box and potentially causing a fire.
See: thingiverse.com/thing:2935204
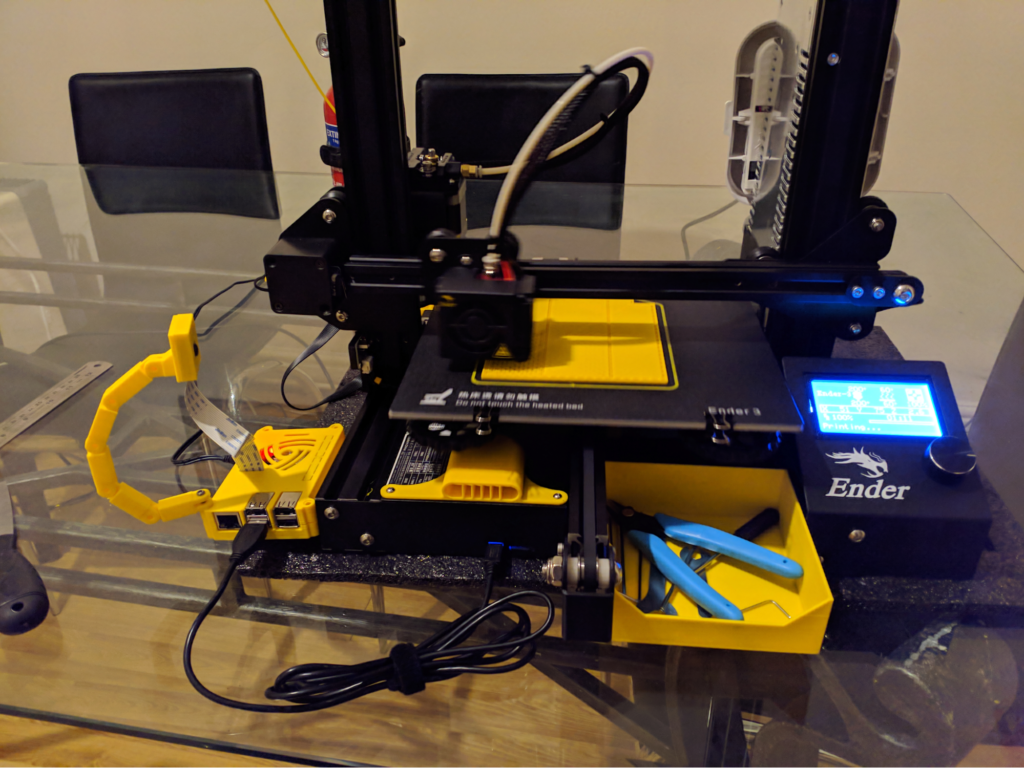
Pi Case
Nice easy to attach pi case with support for a Pi camera
See: thingiverse.com/thing:3079477
Tool Tray & Cable Clips
Somewhere to put your tools and clips for LCD cable.
See: thingiverse.com/thing:2957317 and thingiverse.com/thing:2880021
Anti Snag Endcap
Stops the cables getting snagged on the back extrusion and causing a layer skip.
See: thingiverse.com/thing:2940855
Stepper Motor Dampers
My printer squeaked quite a bit which was really annoying. To reduce this you can fit stepper dampers. Searching for “nema 17 dampers” on your favourite shopping site will get you the correct item, you’ll want at least 2 (for x-axis stepper and y-axis stepper).
See: Quieten your 3D printer with stepper motor dampers: Ender 3 tests
Note: The newer designs of Ender3 cause the bed to crash into the stepper after damper is fitted so you’ll need to carve out part of the under part of the bed or move the endstop and loose a bit of the build volume. Also, newer designs of Ender3 won’t allow you to move stepper gears on the Y axis. This print may help thingiverse.com/thing:3143102
Petsfang – Upgraded Fan
Upgrade for the part cooling duct and fan. You’ll need to buy a 5015 fan. You will want to look for a 5015 fan that has a high CFM. For example, I bought one with 5.9CFM which was sufficient. The fan will also need to be 24V. See thingiverse.com/thing:2759439 for the other print details.
BFPTouch (Cheap Automatic Mesh Bed Leveling)
This is a cheap version of the BLTouch which you can print. It costs around £7 instead of £40 for the BLTouch. If you don’t want to cut existing cables you’ll also need a Pin 27 board. See thingiverse.com/thing:2890290 for the print. I’ll also be writing a setup guide on here so stay tuned.