Posts under this project (1)
Project: Intercepting Network Traffic
One of the key bits of tooling that I run on my Proxmox homelab is a set of VMs that allow me to intercept network requests for analysis...
by Thomas Preece Read more...Way back in 2014 I started experimenting with bare-metal Virtualisation. At that time I had mainly been experimenting with the Xen Hypervisor with the aim to get Windows, Ubuntu and OSX running simultaneously for compiling my Photon GameManager software. The journey to completing this aim led me into some fascinating virtualisation areas such as tweaking CPUID flags to get OSX to run at the right speed, experimenting with Intel GVT-g for passing GPU capabilities to VMs and experimenting with VT-d and device pass-through. In the end, I managed to complete my aim and successfully had the three different OSs running at the same time. Shortly after that I got a job as a Trainee Technologist and so the Photon GameManager project along with my Xen instance took a sideline so I could focus on my work at the BBC instead.
Several years passed until about 2022 when I again turned my attention to the (now very old) hardware that once ran my Xen Hypervisor. This time I wanted a machine that could help me run up VMs for experimenting with networking, security tooling and workloads that required dedicated GPUs. The old 4th generation i5-4690K was still perfectly suitable for these use-cases and after some minor upgrades of RAM capacity and a NVMe drive, the machine was ready for a software refresh.
Proxmox
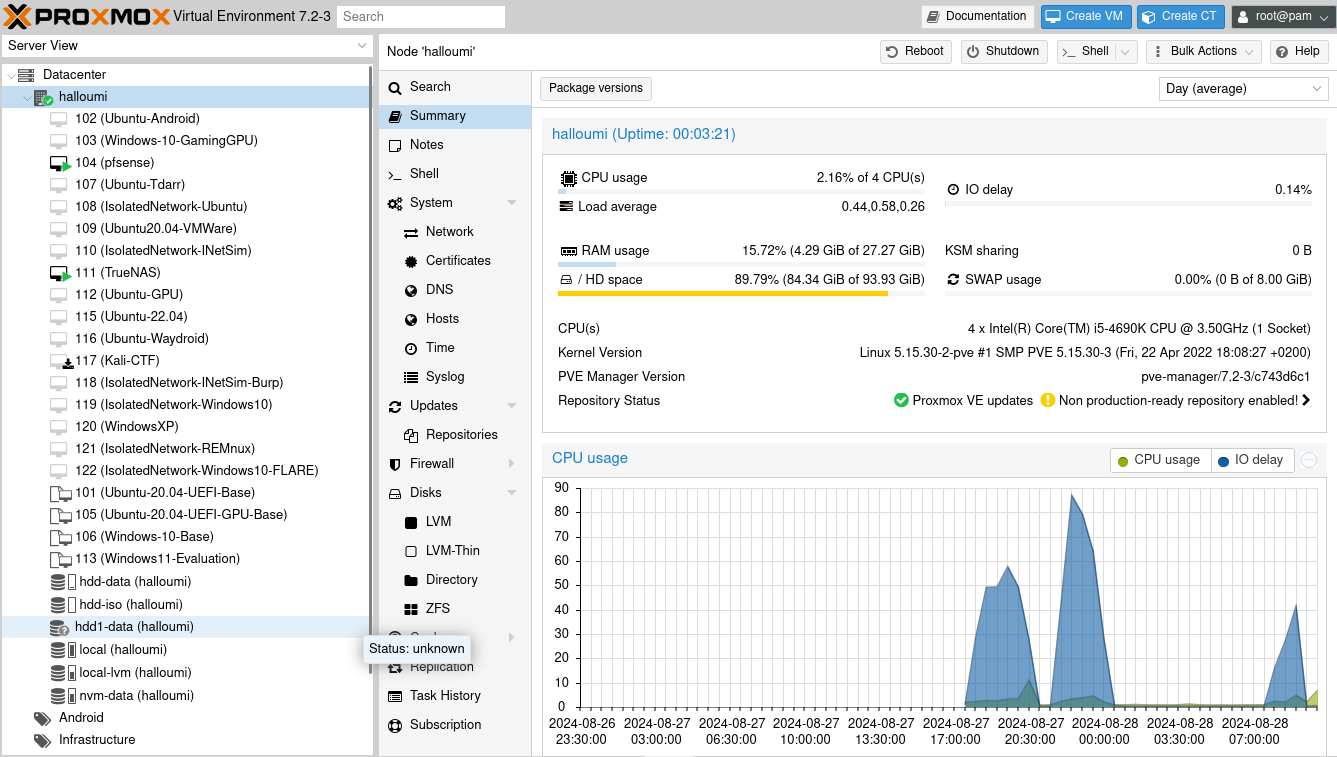
I’d watched a lot of Craft Computing, Techno Tim and Christian Lempa by this point and I’d been convinced by the ease of use of Proxmox. Therefore, I decided to leverage Proxmox as my new Hypervisor rather then the more complex Xen. This turned out to be a good move and I got up and running really quickly. Features such as device pass-through, remote access and streaming virtualised displays just worked out the box without any effort on my part. This was a far cry from my experience with bare-metal virtualisation with Xen 8ish years prior. I guess if I tried Xen again I’d probably also find it easier to use as a lot changes in almost a decade!
Core VMs
Now I had Proxmox installed, next up I needed to get running the supporting VMs that will assist Proxmox in running the system I need.
pfsense
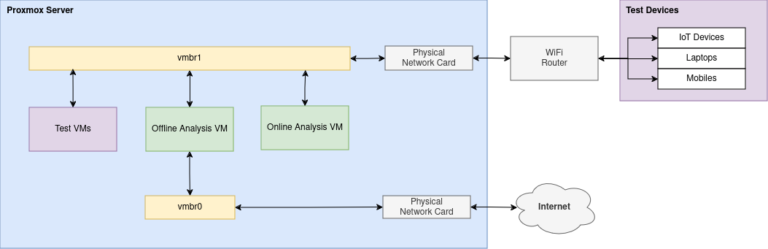
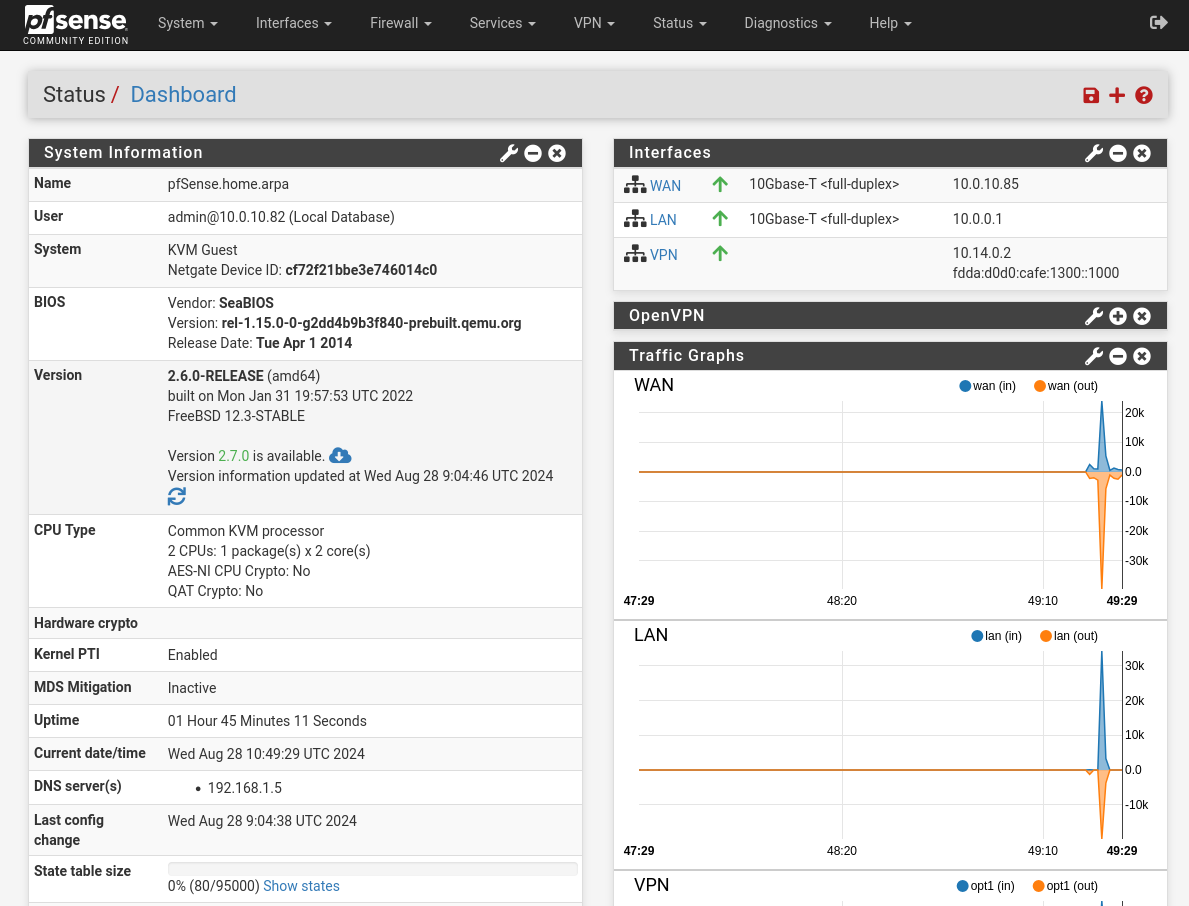
First up, I needed to setup the networking on the Proxmox. Luckily the motherboard came with two network interfaces so I dedicated one to the management network and the other one became the dedicated WAN for the VMs. I connected this WAN and another bridge that will be used for the VMs LAN, up to a pfsense VM to manage routing between the internet, my home network and the VMs. Along with this, I also setup a virtual isolated network bridge for VMs I would be running unsafe software in.
TrueNAS
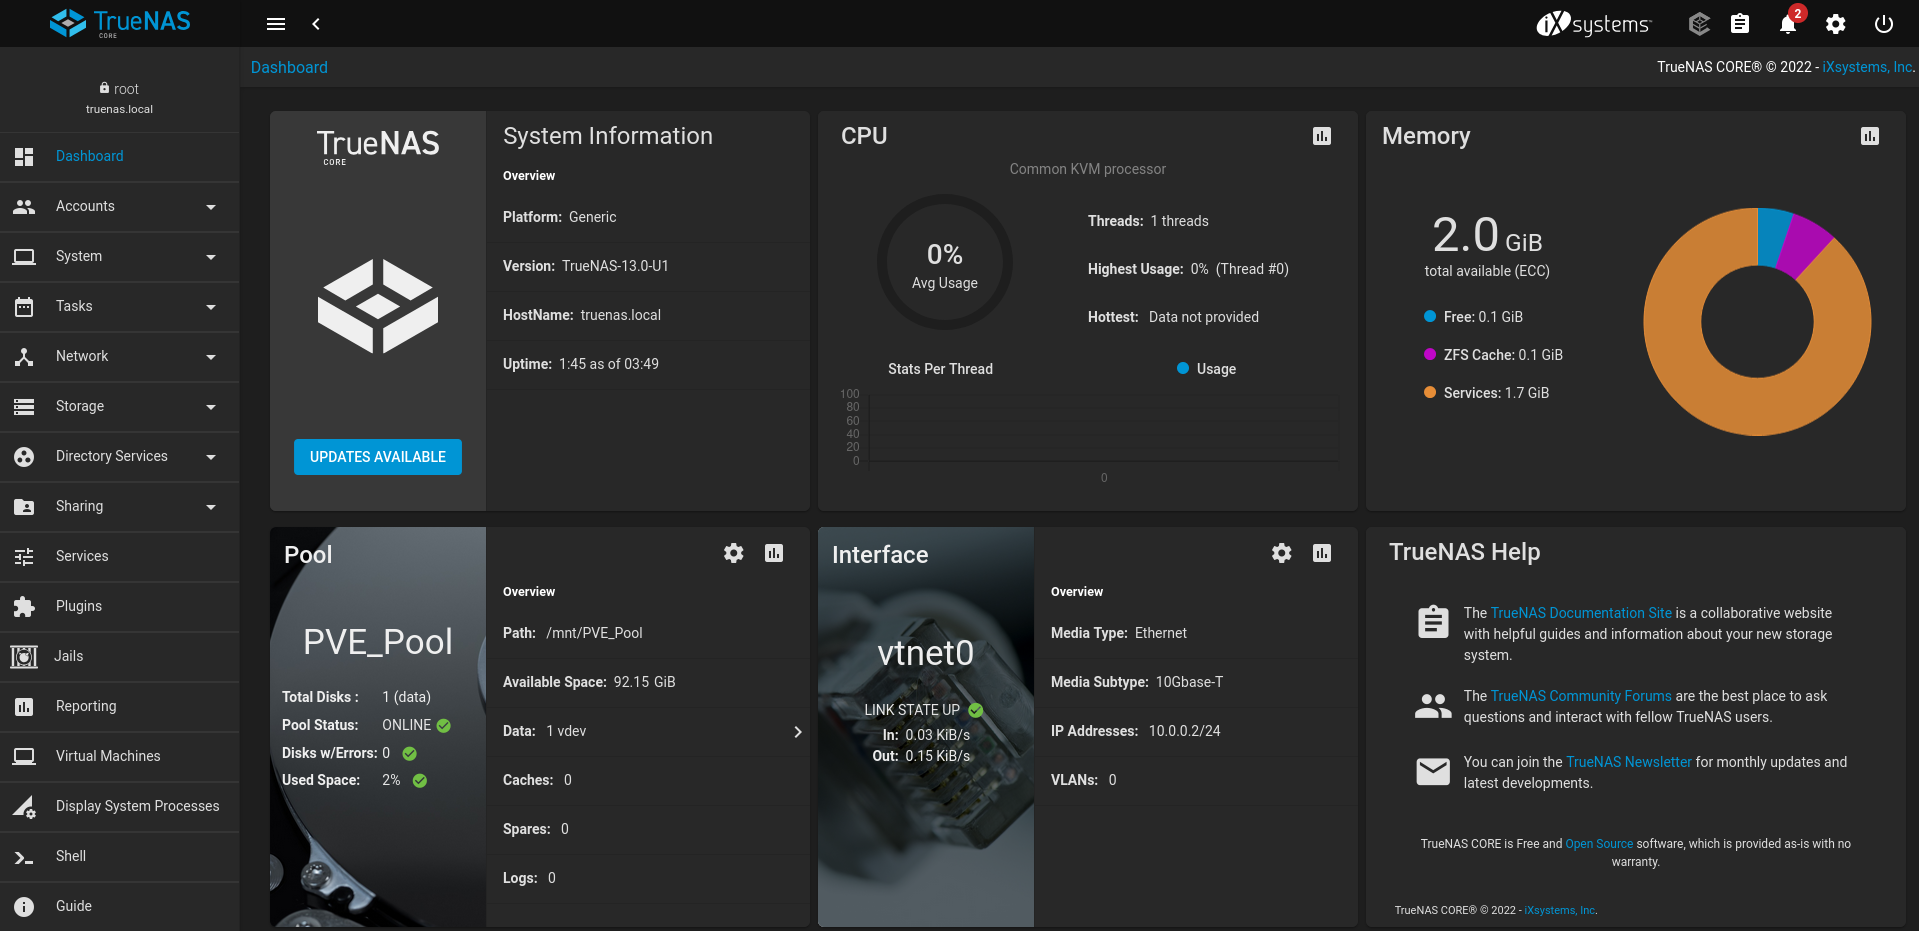
Now the network is setup, I needed some way to easily share random files between the VMs on the Proxmox LAN and my home network devices. A NFS share fit the bill for my use-case so I gave TrueNAS a go. Again, getting it installed in a VM in Proxmox was trivial and after setting up port forwarding in pfsense, I could access the admin interface of the TrueNAS VM. Using the admin UI, I setup the storage, NFS share and ensured access was allowed from the Proxmox LAN and my home network. I now had a way to share files.
Project VMs
The basics are completed so it was now time to actually use the system. Below are listed all the different project VMs that I have created over my time using Proxmox.
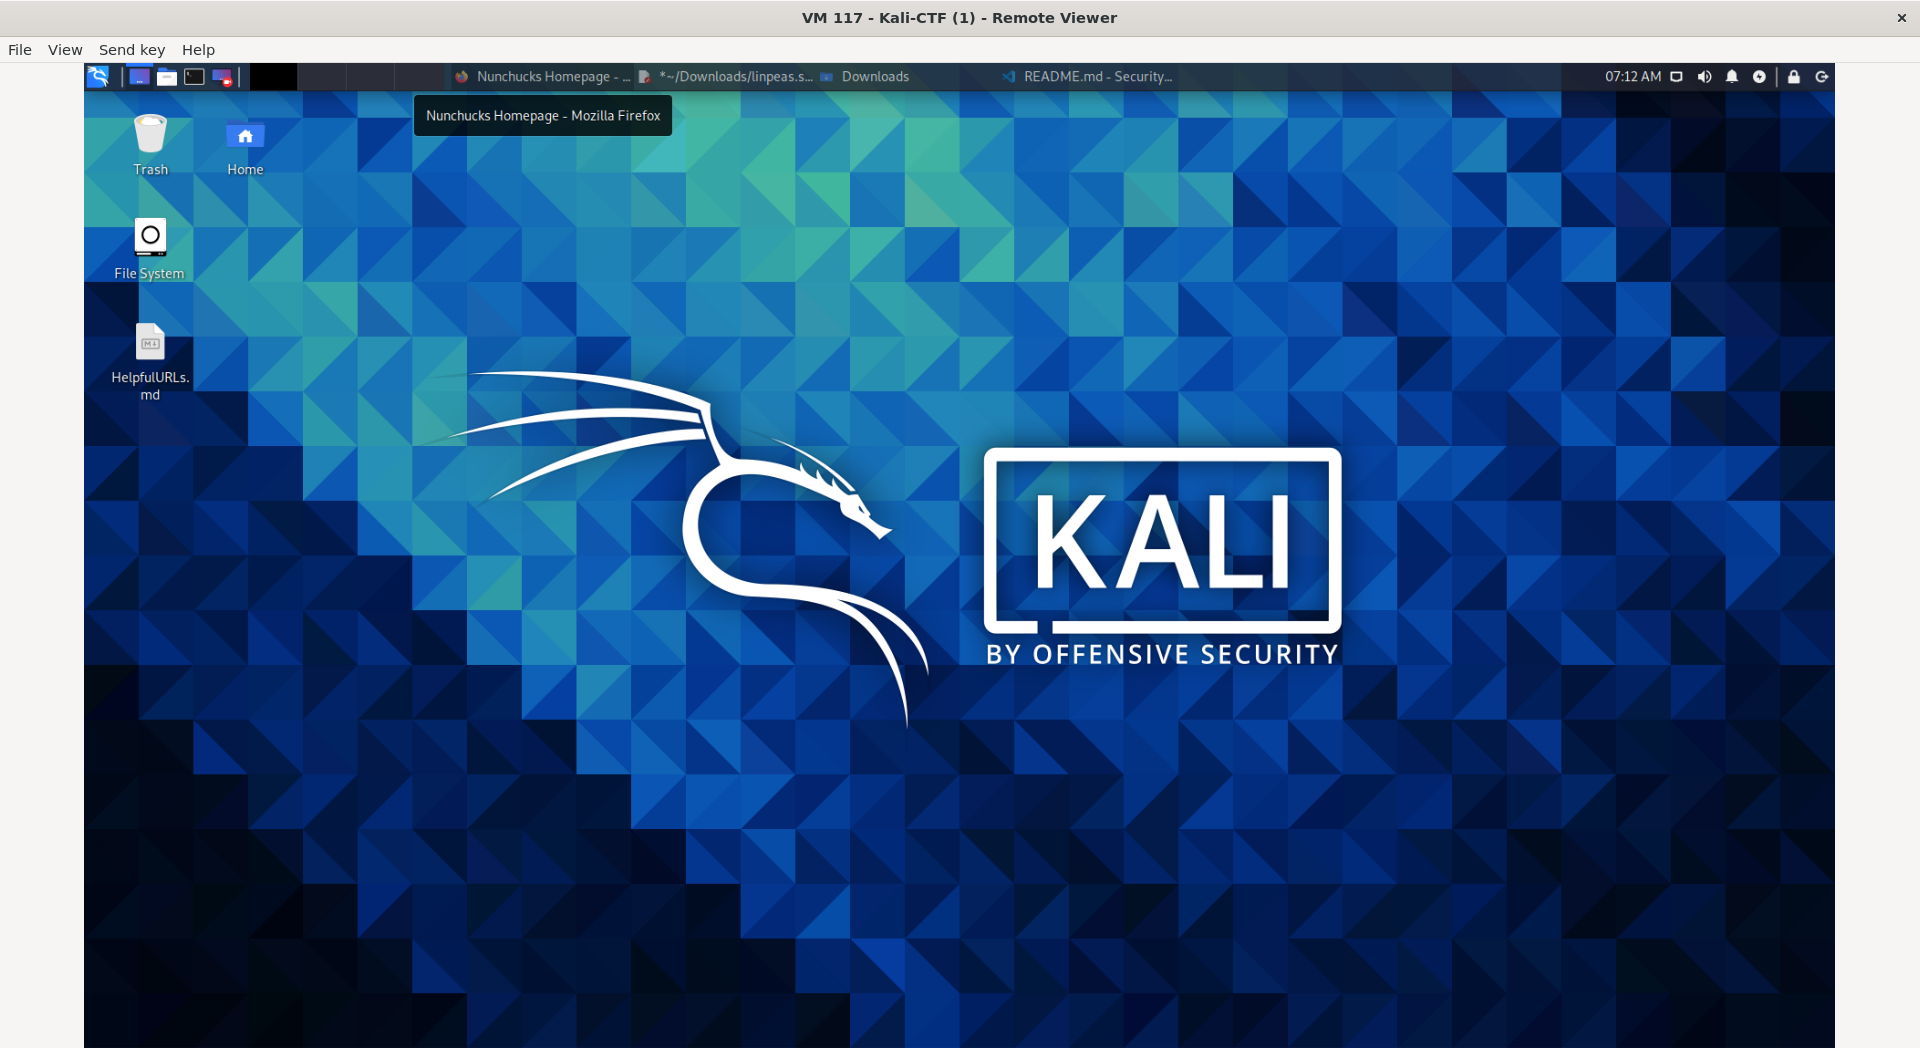
OSINT & CTF Challenges (Kali)
This was a basic install of Kali Linux. Using the VM allowed me to more easily play CTF challenges. The remote access feature proved especially useful for playing from different places and laptops and the suspend feature was really good for quickly getting into the challenges when I only had a short amount of time. You can see the CTF challenges I’ve played using this system here.
I also used this system when I was performing OSINT on myself to reduce my digital footprint. This work was then presented to the Security Champions Network and later publicly to BSides 2024.
Android Forensics
This Ubuntu VM was loaded up with Forensic tools for Android. This project was to experiment about the dangers of data left behind. The tools installed on the VM include:
- Android Studio
- adb
- Android Triage
- Andriller
- Autopsy
- aLEAPP
- fqlite
- foremost
- scalpel
- bulk_extractor
VM Network Request Analysis
This project was actually a series of VMs. The idea was that a Test VM could be spun up and an application on it put under test to analyse what network requests it makes. The project consists of the following machines that I have built:
- Network VMs:
- INetSim VM – Test application has all traffic routed through this VM. INetSim is then setup to respond to common services such as DNS, HTTP, etc and log the requests made. PolarProxy is also leveraged to provide the ability to respond to HTTPS (provided the PolarProxy CA is injected into the test VMs/applications). The INetSim VM and Test VMs has no access to the Internet so all server responses are faked or dropped (depending on requested port/service) by INetSim.
- INetSim+BurpSuite VM – This is an alternative to the above VM where the Test VM has traffic routed through this VM instead. Again INetSim is setup to respond to common services such as DNS, FTP, etc and log the requests made. However, this time BurpSuite handles HTTP(S) requests and proxies then to the internet. This allows analysis on applications that need specific responses back from the internet. The INetSim+BurpSuite VM has internet access but the Test VMs do not. Only HTTP(S) traffic from Test VM is allowed out to the internet via BurpSuite.
- Test VMs:
- Ubuntu VM – For testing Linux applications. Setup to trust PolarProxy CA and BurpSuite CA.
- Windows 10 VM – For testing Windows applications. Setup to trust PolarProxy CA and BurpSuite CA.
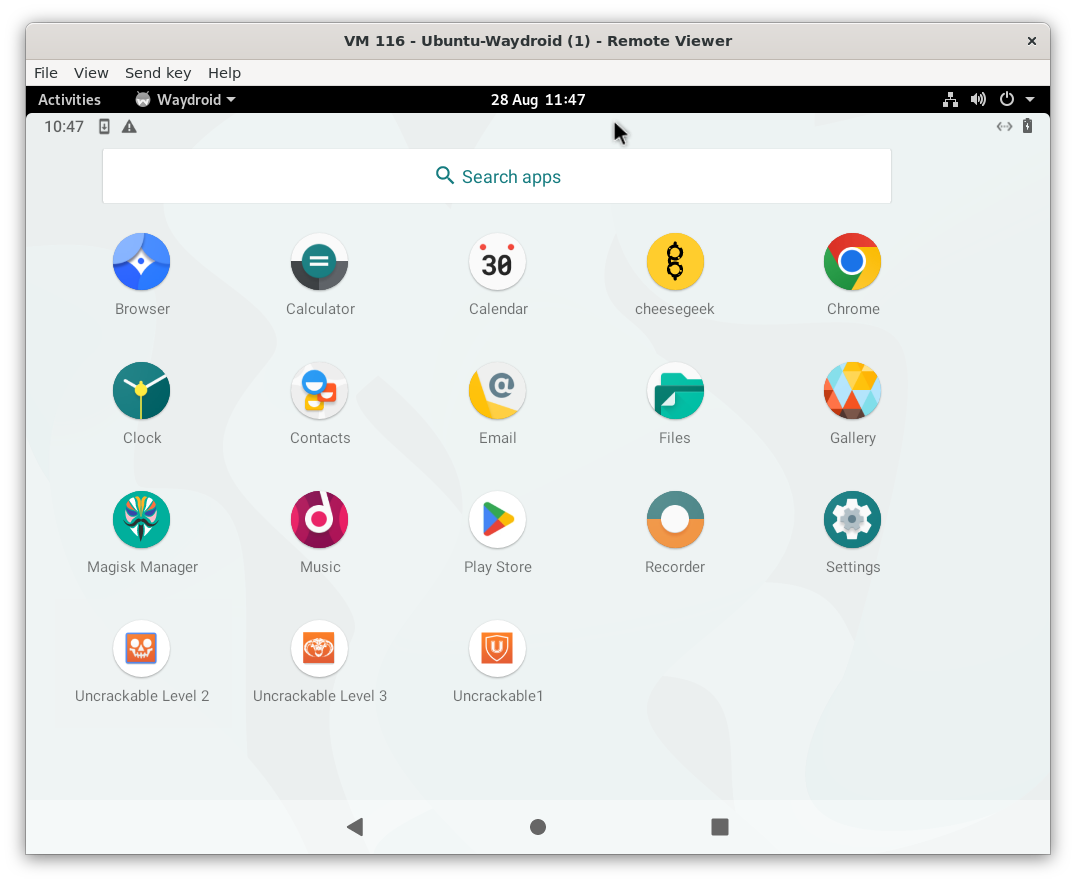
- Ubuntu Waydroid VM – For testing Android applications. Runs Android inside Ubuntu. Setup to trust PolarProxy CA and BurpSuite CA.
- External Device Testing:
- Hooked up to the Isolated Network Bridge is a Wifi Router which physical devices can connect to and be tested in the same way as the VMs.
Read more about this project at: https://thomaspreece.com/2023/12/01/proxmox-intercepting-network-traffic-tooling-setup-guide/
Malware Analysis
This project was a series of VMs to assist with analysing applications on various different platforms. The project consists of the following machines which I have built:
- Ubuntu Waydroid VM – For static and dynamic analysis of Android applications. Runs Android inside Ubuntu. Has the following tools installed:
- Frida – For patching android applications (particularly useful for patching in custom CA for network analysis)
- MobSF – For analysing APK file
- Bytecode Viewer
- Ghidra
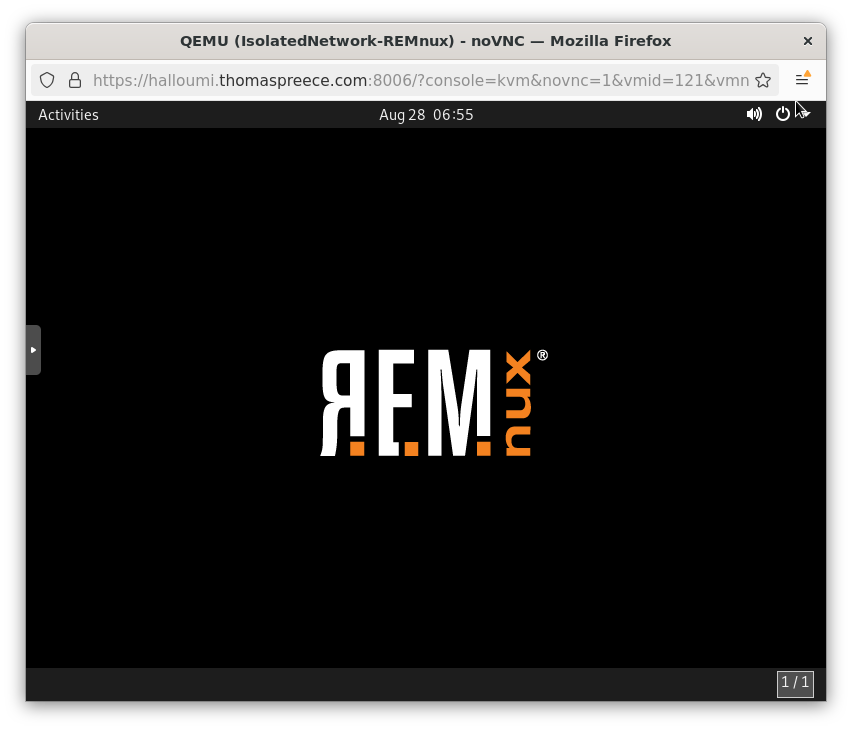
- REMnux VM – For static analysis of malware and dynamic analysis of Linux binaries
- Flare VM – For static analysis of malware and dynamic analysis of Windows binaries