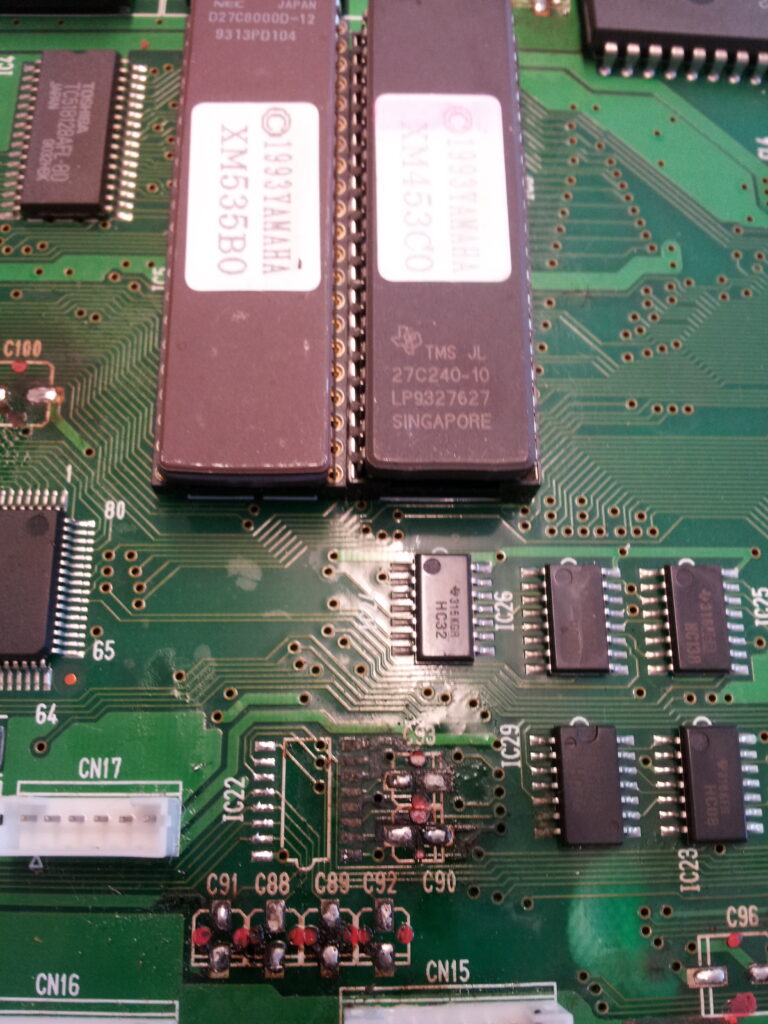
My digital piano was second hand and has always had a few small problems. Recently, new problems have developed and the old problems have got worse. The piano was also having trouble turning on. I decided to open up the piano to see what the issue was. On opening I could smell a strong smell of fish so I started to research the problem. It turns out that a fishy smell is a key clue that capacitors are leaking. After doing more research and inspecting the piano’s circuitry closer, I noticed some discolouring around the surface mount capacitors which showed that the capacitors were the problem. Its a lot harder to tell surface mount capacitors are leaking compared to through hole capacitors as they often leak downwards between the board and capacitor. In the below images you can see the discolouration on the board and corrosion on the screw holes.
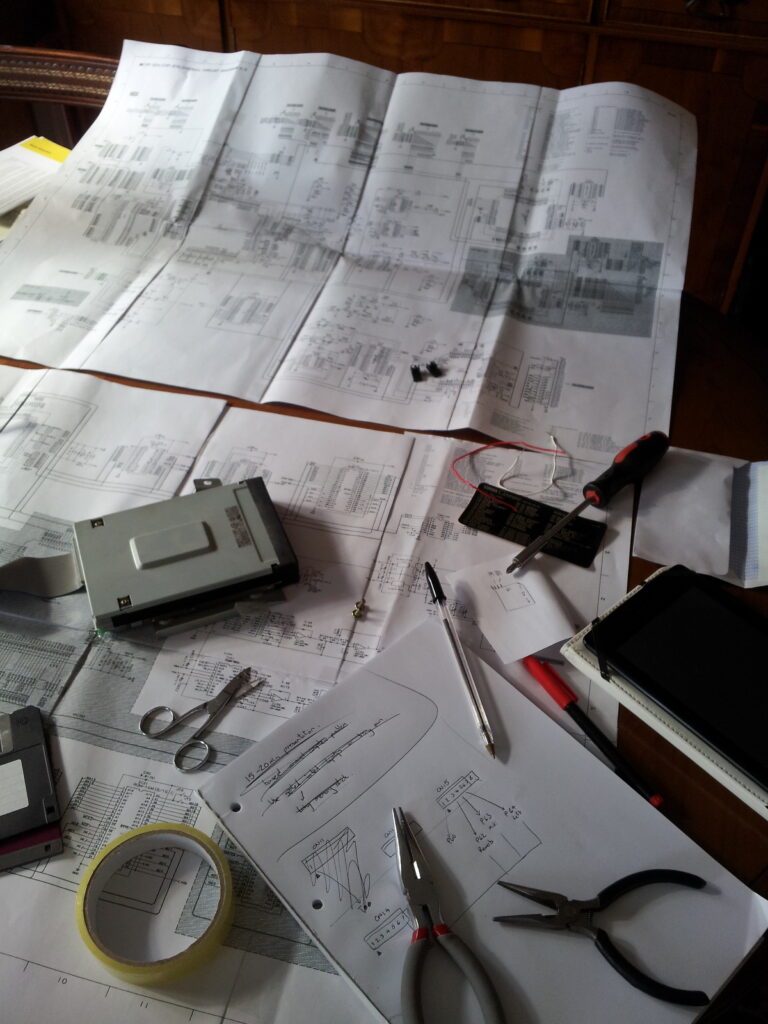
Finding capacitor values
So I had narrowed down the problem, but I still had no idea how to fix it. I knew that I had to replace the capacitors but I’d never worked with surface mount electronics before. After some research I found a very helpful article here. This article gave me a good overview of how to fix the piano but it was missing key details such as what the value of the capacitors I needed to replace were.
After carefully writing down the markings on top of all the capacitors I wanted to remove, I started researching labelling schemes of capacitors. This was harder than I expected as there isn’t a standard labelling scheme and the capacitors on the board seemed to use a couple of different schemes. At this point, I went to Yamaha to ask for the schematic. After a little hesitation they provided the schematic. Using this I managed to decipher the labelling and figure out what the capacitors values I needed were.
Removing the broken capacitors
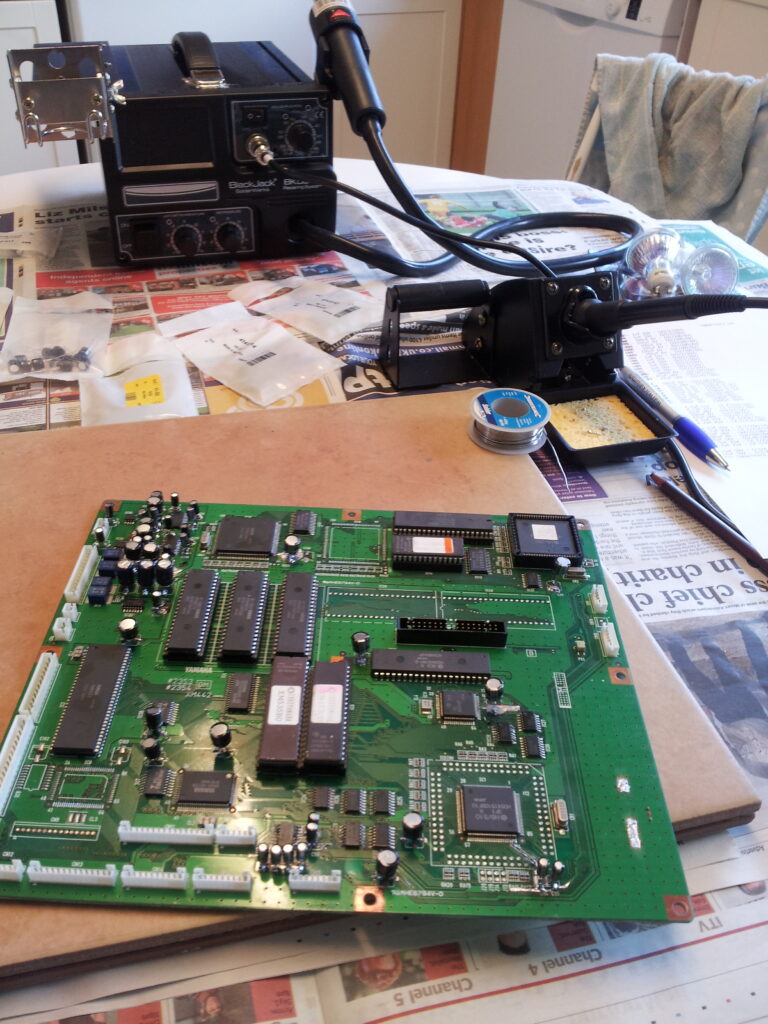
The next step was removing those capacitors. Using other throwaway circuit boards and a soldering iron, I found removing SMD capacitors almost impossible as the heat applied would dissipate quickly. I needed an alternative method which would do the least damage as I only had one board with no possibly of a replacement. I looked at a few different methods including soldering iron pincers, desoldering tools, breaking them off and hot air rework. Of all the methods, hot air rework was likely to cause the least damage to the board.
After doing research, I purchased the best hot air rework station I could find in my price range. I wanted to avoid dangerously wired cheap chinese models on the market so went with the Solderwerks Blackjack BK 5000. Next I proceeded to watch many videos on how to rework SMD components with hot air. After this, I practised on some more throwaway circuits and became confident and capable enough to work on the piano.
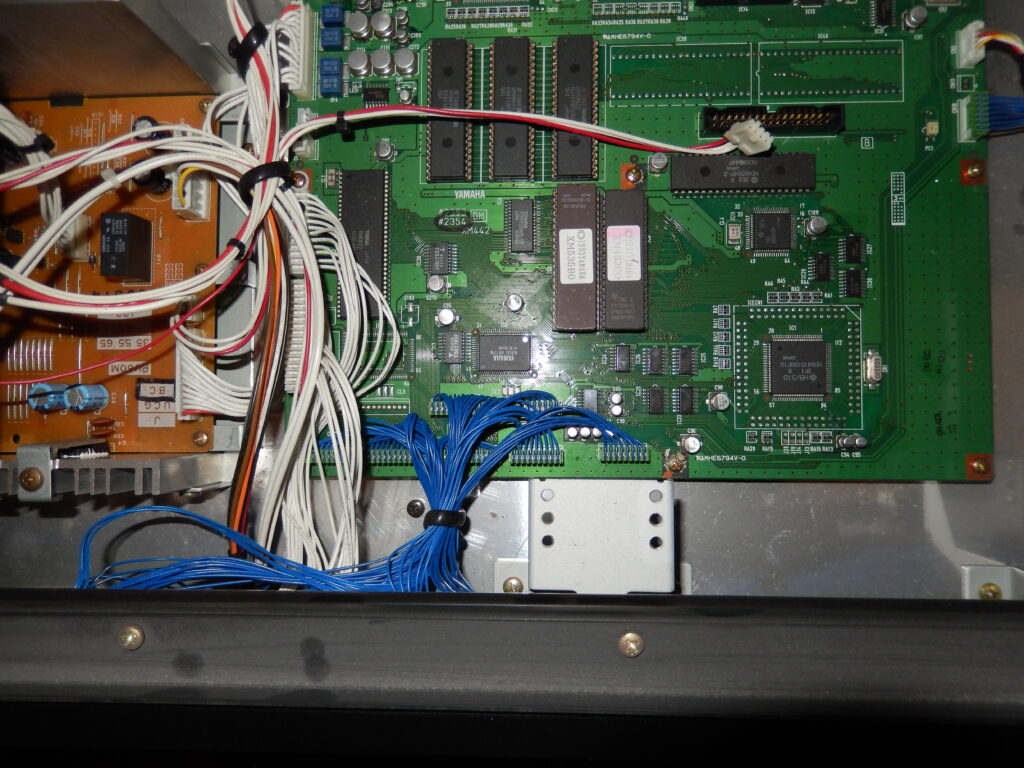
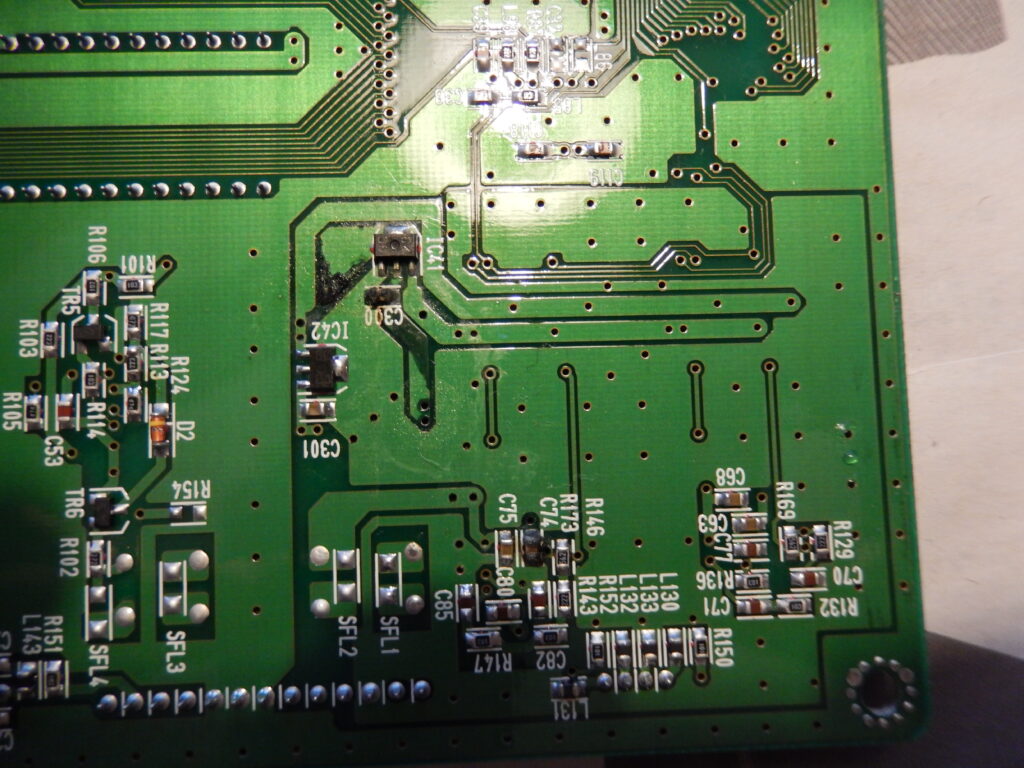
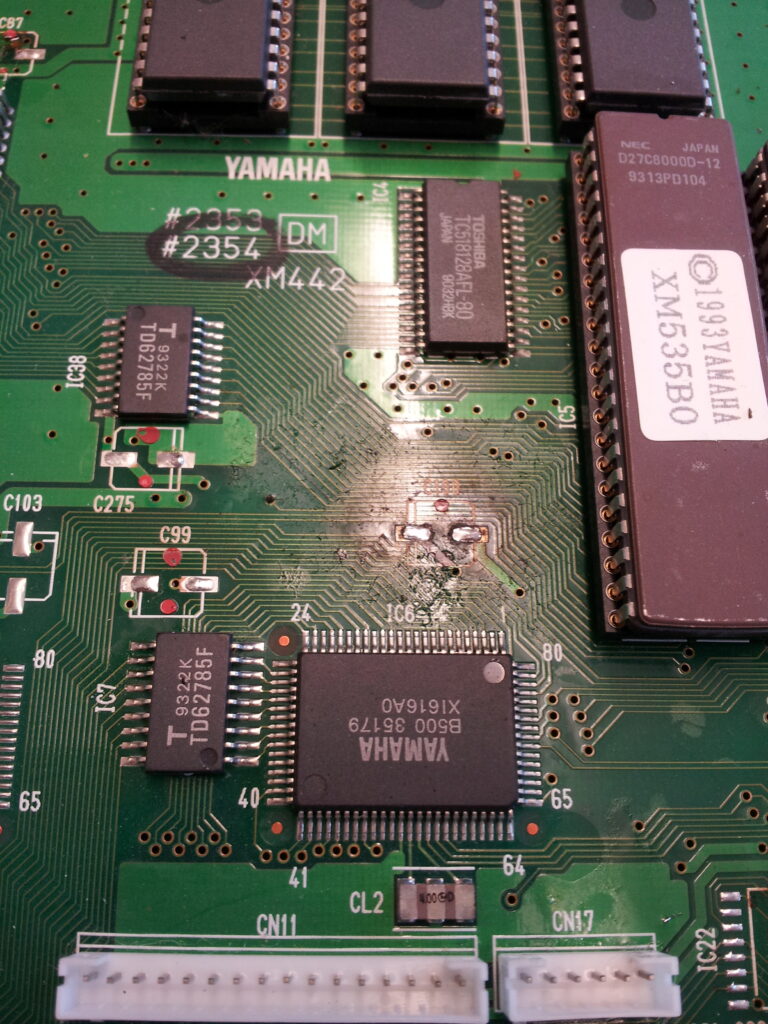
I managed to remove all the capacitors fairly easily with minimal damage to the board with one exception. To begin with, I had the temperature set too high so the board started to de-laminate. I quickly noticed this and rectified the issue and had no further issues. Luckily, this error didn’t effect the repair. It wasn’t until all the capacitors were removed that the full extent of the damage could be seen. The image below shows some of the corrosion. The dark patches on the board show where traces have been corroded away.
Corrosion Cleanup
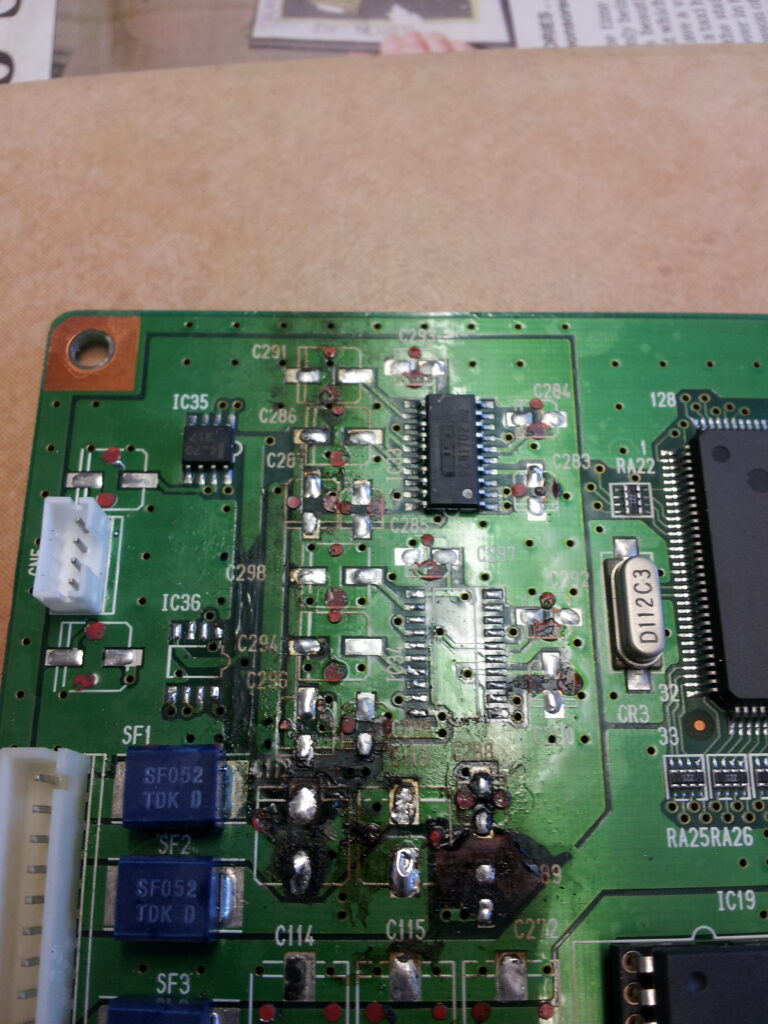
The next stage was to clean up all the corrosion on the board before putting new capacitors on. At this point, it was uncertain whether the corrosion had reached any of the chips. If it had then it’s game over as they are unlikely to be replaceable. This stage was a long and methodical process. Using some wire brushes I removed any visible corrosion. Next I used the brushes to remove the solder mask on any dark area to reveal the corrosion underneath. From here I removed any corrosion on the traces. I then repaired any broken traces with wire or solder. Finally after all corrosion was removed I coated any exposed traces with solder to protect them from the air.
The board was now cleaned so I now needed to replace the capacitors. This was relatively easy compared to the rest of the process. As the replacement capacitors were through hole, a soldering iron could be used to attach them. Below you can see the repaired board in several of the most damaged areas.

Testing
I had now done everything I could to fix the piano so it was time to test the repair. After putting the circuit board back into the piano and powering it up, it came on first time. This was a good sign as it hadn’t done that in months. After a quick play with the functionality I found that I had fixed the piano. I did however find that the left pedal of 3 no longer worked but I rarely used it so it was a minor point. All the work repairing it had paid off, I was ecstatic.